05.07.2023
Pruning is a must to maintain the health and attractive look of trees and shrubs. We prune to remove dead or diseased plant limbs, to encourage growth and to maintainthe ideal size and shape of a tree or shrub. Pruning can also be done to remove parts of a plant damaged by frost or storms and to promote flowering and fruiting in the coming season.
Where and how to make your pruning cuts to achieve a particular resultrequires careful consideration. Make sure you have the right tools before you start and make sure they are sharp enough.Ragged cuts don’t heal well and are vulnerable to infection. Stand back, take a good look at the plant and picture the final shape, size and height.
There are four basic pruning cuts that you can make for different purposes. Once you’re ready, follow these helpful principles to achieve the best results.
1. The Heading Cut
This cut removes the upper portion, or head, of a branch, just above a bud. You aren’t topping the branch, just cutting back to a specific bud. Make the cut approximately 3cm above the bud at a 45-degree angle.
Plants respond to heading cuts by activating the bud immediately below the cut to generate new heading branches. The new branches will grow more buds, more flowers and more fruit. Because heading cuts stimulate growth they will make the plant more dense, so avoid this cut if this is not desired.
2. The Thinning Cut
Thinning cuts remove entire branches from within a tree or shrub, usually to expose the interior of the plant. Make the cutvery closeto the branch collar, the enlarged ring-like growth area at the base of the branch. Do not cut into the branch collar as it containsthe specialised cells that will grow over and heal the cut. Do not leave a stub either, as the cells can’tgrow over the stub to heal the cut. Make the cut right next to the collar so that only the raised, textured ring remains.
With the branches removed, the tree or shrub will channel energy and nutrients past the cut and concentrate growth along the main, leading branches. The interior will also receive moresunlight and air.This allows flowering and fruiting throughout the plantbut may also cause the plant to grow taller and wider.
3. The Releadering Cut
This cut removes a portion of a lead branch above a lateral branch, causing the lateral branch to become the new leader. Make this cut approximately 3-6mm above the joint of the lead and lateral branches. Imagine a straight linecutting across the lead branch and meeting the lateral branch to form an imaginary triangle. Angle the blade of your cutting tool so that itpoints to the tip (where the line meets the lateral branch) of your imaginary triangle.
For this cut to be successful, the lateral branch must be at least one third of the diameter of the lead. If smaller, the lateral will not be strong enough to become the new lead branch.Releadering cuts immediatelyreduce the height and width of a tree or shrub and change the direction in which it grows. This cut also slows growth and can be used to control the size of the plant over a longer period.

4. The Jump Cut
Jump cuts are made to reduce the weight of heavy branches before making a final cut. This is done to prevent cracking and tearing injuries to the area where the final cut is made on the tree or shrub.
The first cut is made from the underside of the branch approximately 15cm from the point where the final cut is desired (usually the branch collar).Cut halfway through the branch. The second cut is made from the topside of the branch, about 1-2.5cm further out from the first cut. If done correctly, the branch will break away cleanly from the tree or shrub and leave a stump. The third and final cut is made to trim the stump to the desired length or right next to the branch collar(if the whole branch is to be removed).
Which tools are best for which cuts?
Your choice of tool is not so much determined by the type of cuts but rather the type of plant and the thickness of the branches. GARDENA stocks a wide range of pruning tools that satisfy basic, comfort and premium requirements. Follow these guidelines in your selection:
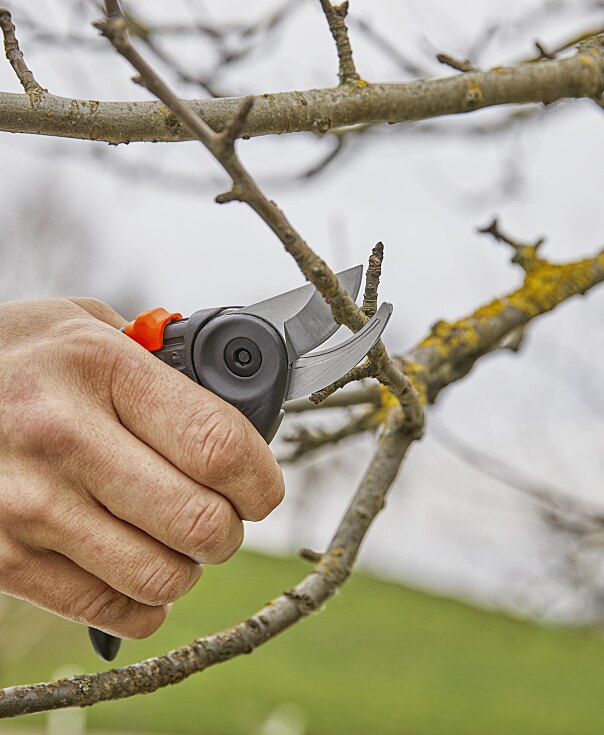
1. Secateurs | for soft branches with diameters up to 25mm.
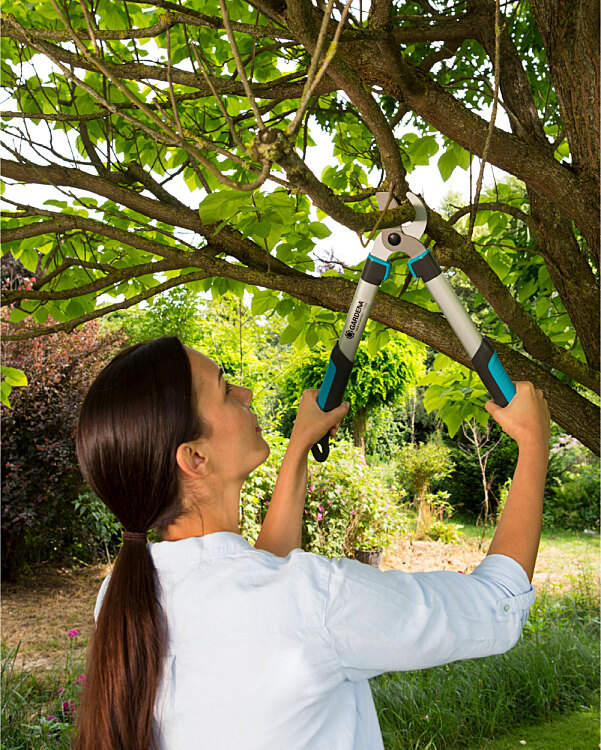
2. Loppers | for thicker branches with diameters up to 45mm.
3. Hedge Clipper | for hedges or solitary shrubs.
4. SlimCut Lopper | for dense undergrowth and hard-to-reach areas.
5. StarCut Loppers | for pruning high branches from the ground (max. height 6m).
6. AccuShears | Battery-operated shears for trimming hedges and lawn edges.
About GARDENA
For over 50 years GARDENA has provided everything passionate gardeners need. The broad assortment of products offers innovative solutions and systems for watering, lawn care, tree and shrub care and soil cultivation. Today, GARDENA is a leading European supplier of high-quality gardening tools and distributed in more than 100 countries worldwide. GARDENA is a brand of Husqvarna Group. Further information on gardena.com.